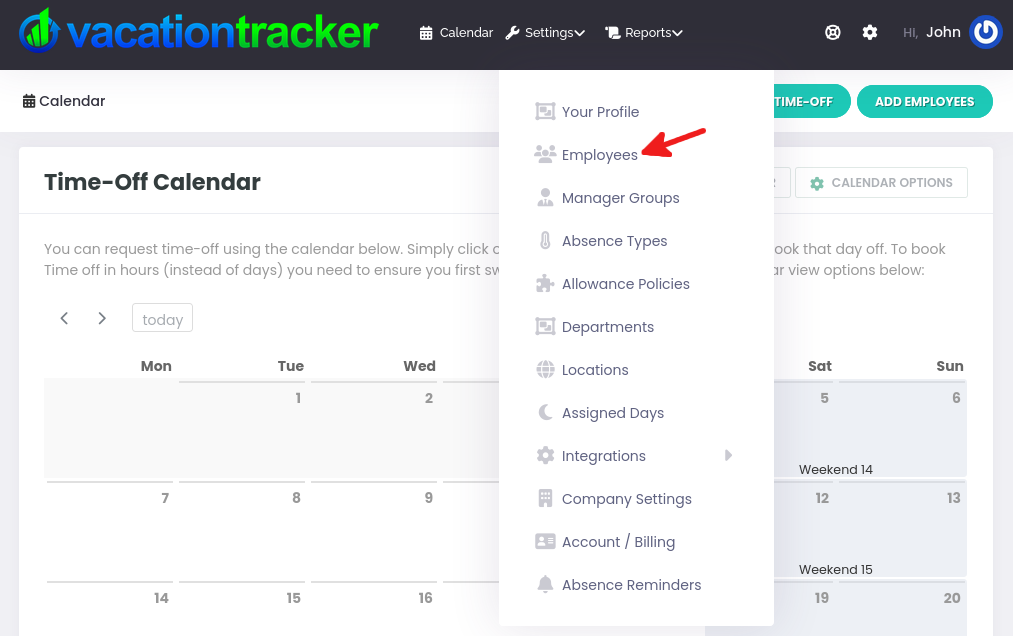
Once logged in, from your VacationTracker Dashboard click on Settings followed by Employees from the settings drop-down, as shown below:
This takes you to your employees area. Here you can simply view all employees or use the various options available to filter the employees that will be displayed on your employee list:
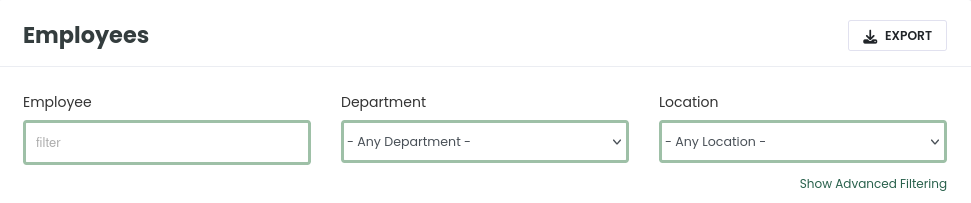
The Employee option allows you search for an employee by name so you can quickly find an employee.
The Department option allows you to filter employees by department.
The Location option allows you to filter employees by location.
If you click on the Show Advanced Filtering link:
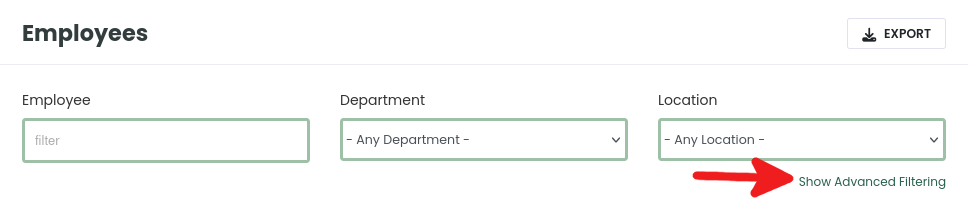
You will then also see the options to filter employees by Status or Privilege Level:
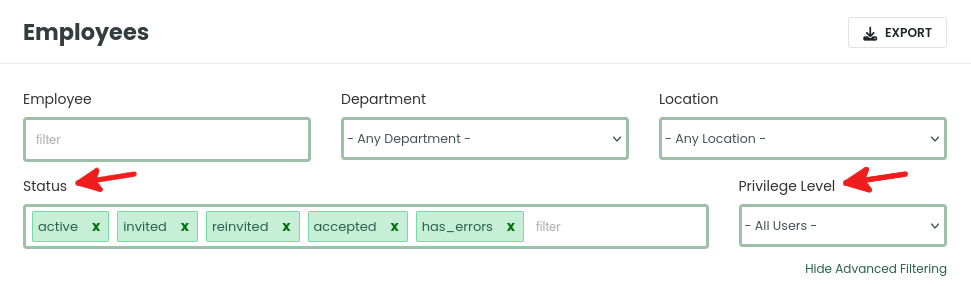
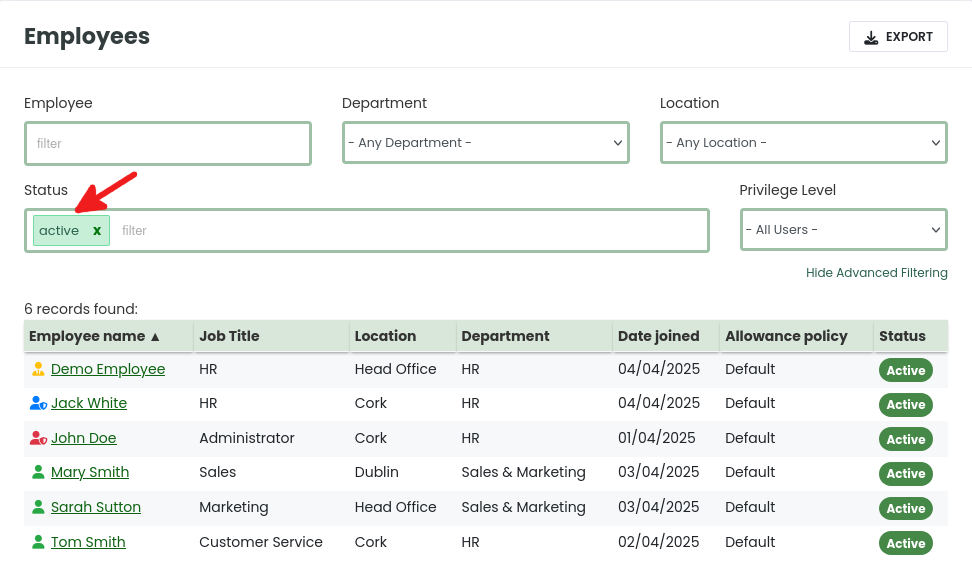
The Status option allows you to use useful tags to filter employees, for example, you might want to view only “active” employees, as shown below:
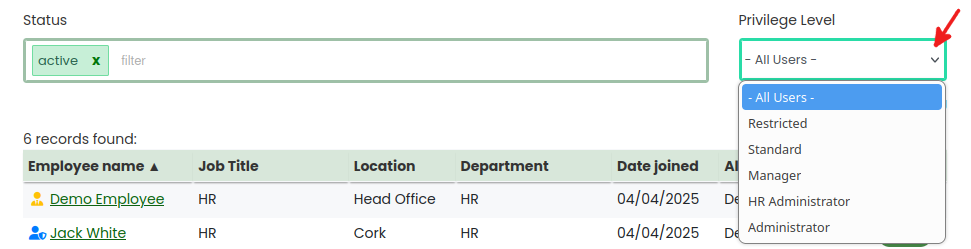
To filter by Privilege Level simply select the privilege level you want on the dropdown menu:
On your employee list, you will also see that each employee has a color icon in-front of their name as shown below:
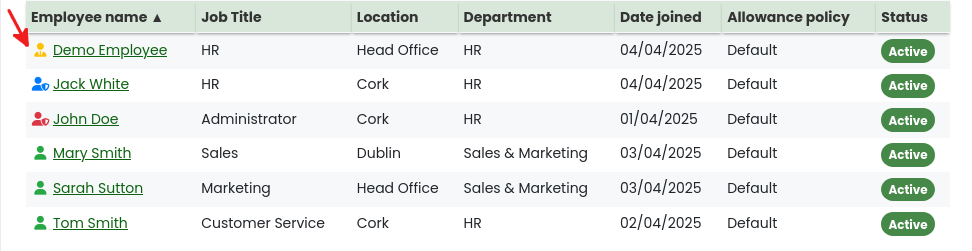
These color icons allow you to easily and quickly denote the type of user as follows:
- Red Icon = Administrator.
- Blue Icon = HR Administrator.
- Yellow Icon = Manager.
- Green Icon = Regular Employee.
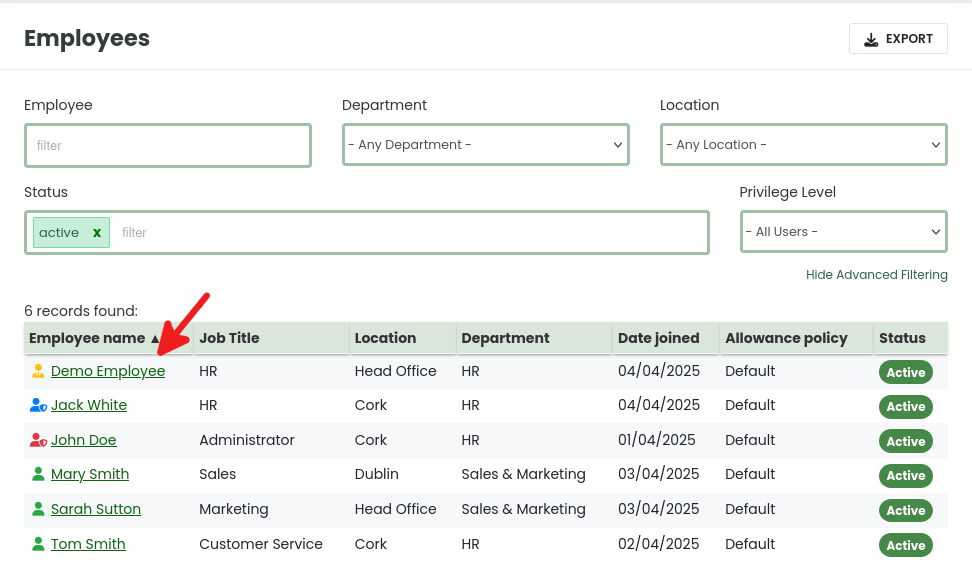
To edit an existing employee, locate the employee that you wish to edit from the employee list and click on their name to select them:
From the Employee Page click on the Edit Employee button:

From the Employee Edit Page you can make any necessary changes to that employees information, such as editing their job title or department or location. In addition, you will see the option to add Notes to this employees information. Only Administrators (including HR Administrators) can make and view these notes, they are not visible to anyone else including the employee themselves.
When you are finished editing the employee information, click the Update Employee button:

That’s it – you’ll be returned to the Employee Page along with a notice verifying that the edit was successful.