How To Edit an Existing Department on Your VT Account:
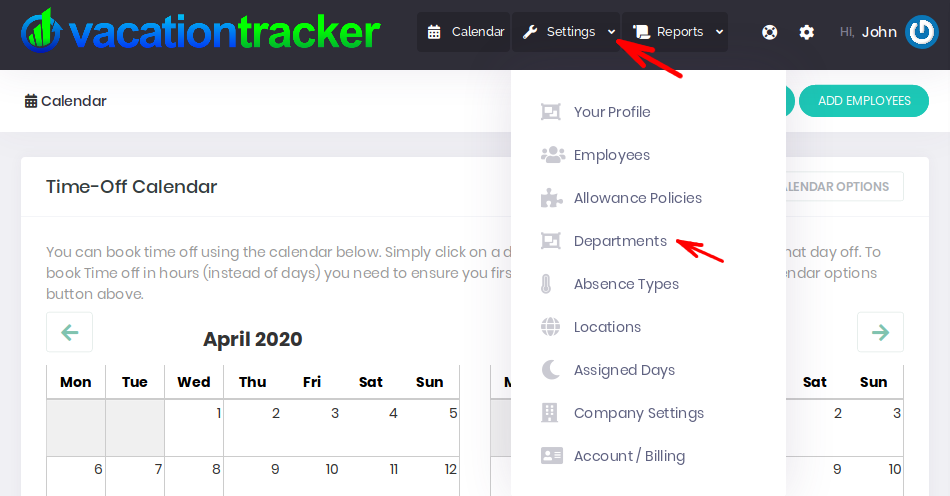
Once you are logged into your VacationTracker Account and on your Dashboard, the next step is to click on the arrow next to Settings at the top center of the page to reveal a drop-down menu.
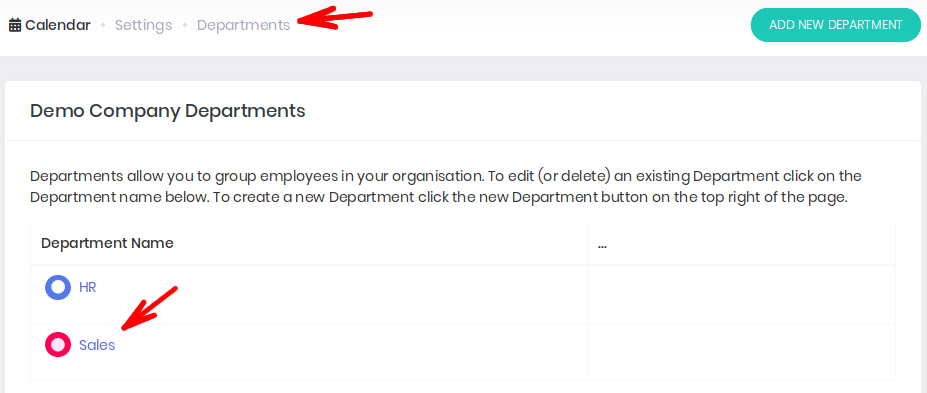
From this drop-down menu, click on the Departments option, as shown below:
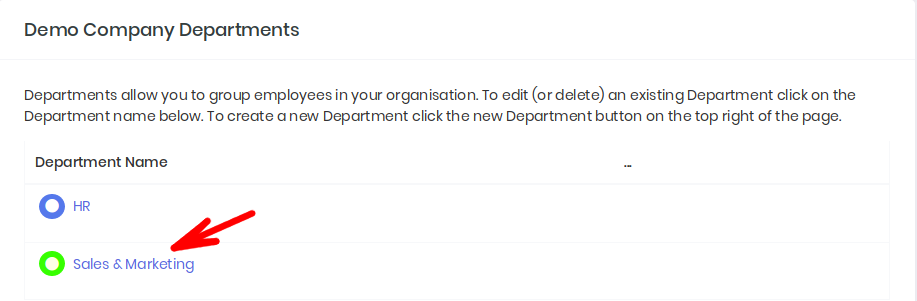
You are now on the main Departments Page for your Company. Here you will see a list of all your existing Departments displayed. Click on the name of the Department that you want to edit:
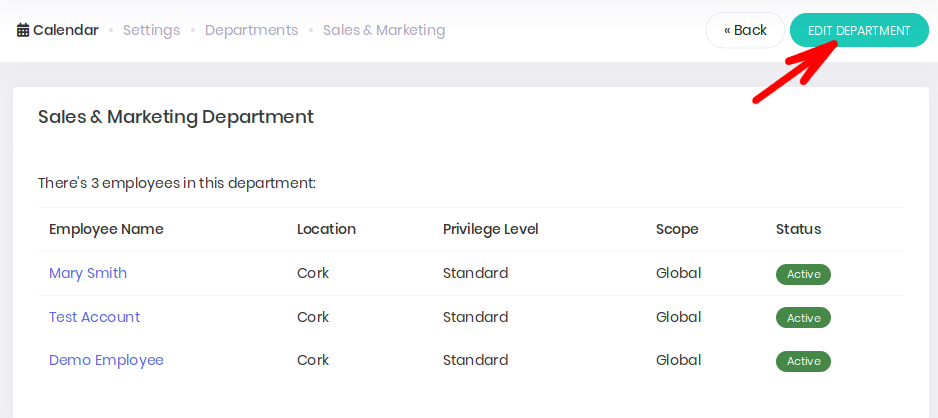
This will bring you to the information page for that Department and now click on the Edit Department button:
You are now on the Editing Page for that Department. When you are finished making changes to that Department, click the Save Changes button:
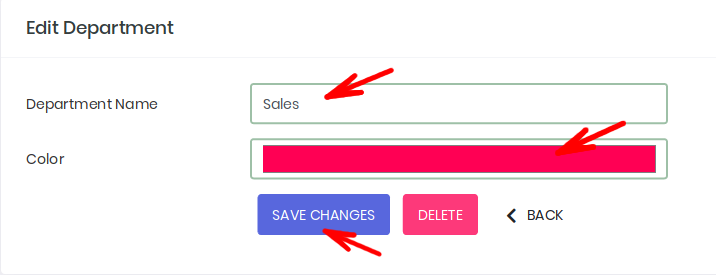
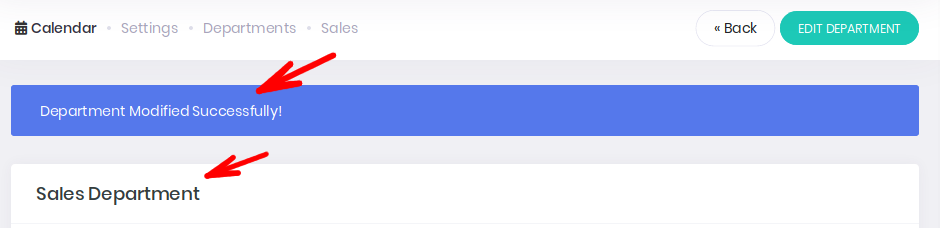
You will then be brought back to information page for that Department. A notice will inform you “Department Modified Successfully”. You will see the changes you made displayed below, in the case of our example here the Department name is now “Sales” and no longer “Sales & Marketing”.
Similarly, if you visit your main Departments Page, you will see your changes there also. In our example below, you can see the Department title is now “Sales” (formally Sales&Marketing) and the color assigned to it has been successfully changed from green to red:
You can edit an existing Department whenever you want, just repeat the steps outlined in this article.